The idea for this manipulation is that I would like to create some sort of out-of-this-world structure (alien alike) and add it to a open space (desert, dry land) with dark sky. Overall, these objects create a surreal feeling and a fantasy environment.
Here is a preview of the final effect I have for this tutorial: (click to enlarge)

Step 1
Create a new document sized 1440px * 700px with black background. Load the desert image into Photoshop, select the sand portion of the image, copy and paste it onto our document, resize it to fit as as shown below:
Duplicate this desert layer once and apply the following reduce noise filter (filter > noise > reduce noise) to this duplicated layer:
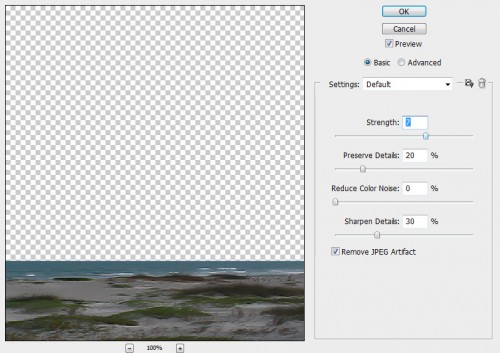
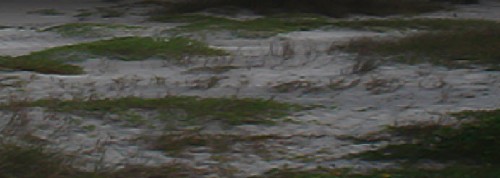
And you will add some soften effect to the sand texture after applying this filter:
Add a layer mask to this duplicated desert layer:

and you will fade the top edge of the texture, as shown below:

Add the following 2 image adjustment layers:
Black and White
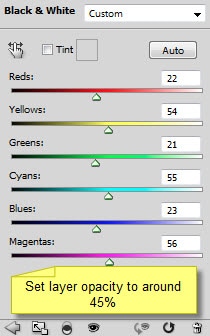
Levels

and you will have the following effect:

Step 2
Load the sky image into Photoshop, select a portion and paste it onto our document, above all previous layers: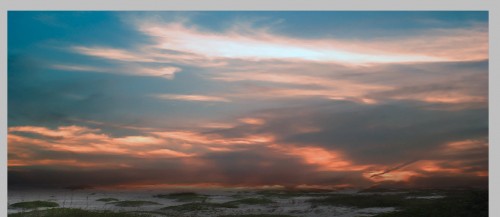
Fade out the bottom edge with the layer masking technique mentioned in step 1:
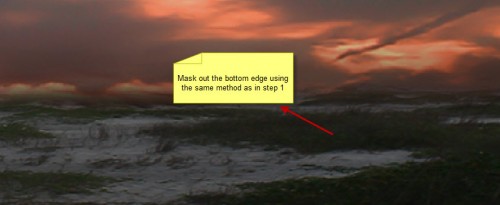
Add the following 2 image adjustment layer as clipping mask to the sky layer:
Black and White
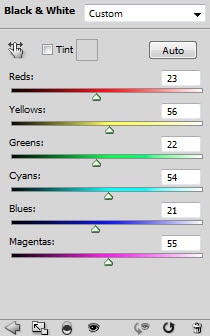
Layer Mask on black and white adjustment layer:
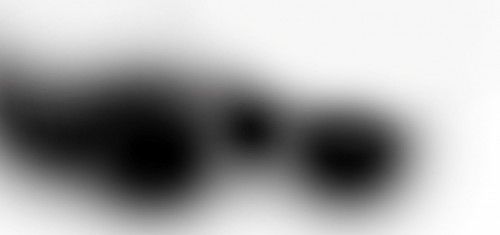
Levels

Layer mask over levels adjustment layer:

and here is the effect you will have so far:
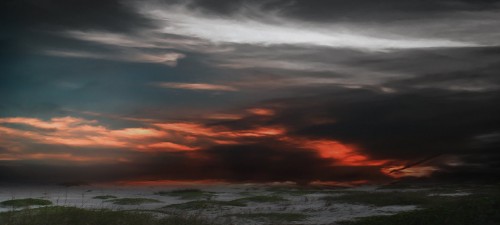
Step 3
Let’s add some surreal structure into the image. I decided to manipulation a tree image and turn it into some sort of alien style object. So load the tree image into Photoshop, use the quick selection tool to select a portion as shown below:
Copy and paste the selection onto our document, resize and position it as shown below:
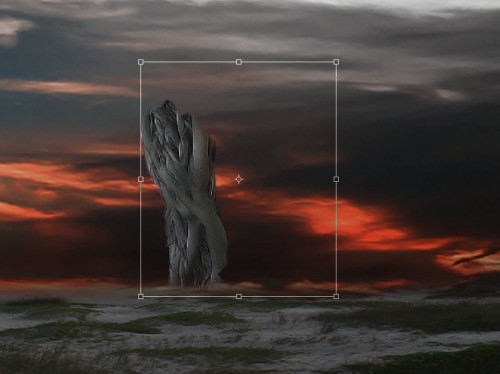
Erase the edge with a soft eraser:
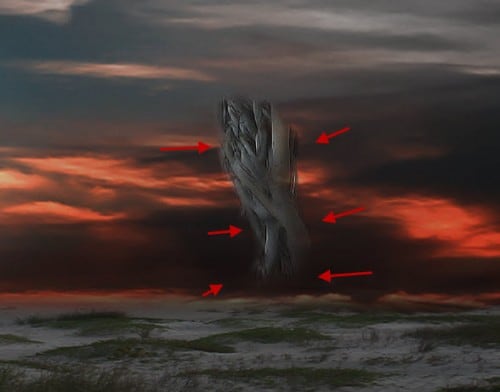
Add the following 2 adjustment layers as clipping mask to this tree layer:
Black and white

Levels

Layer mask on the levels adjustment layer:

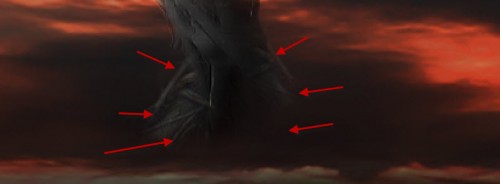
You will repeat this process and add a few more tree texture onto the bottom of this Alien structure:
Step 4
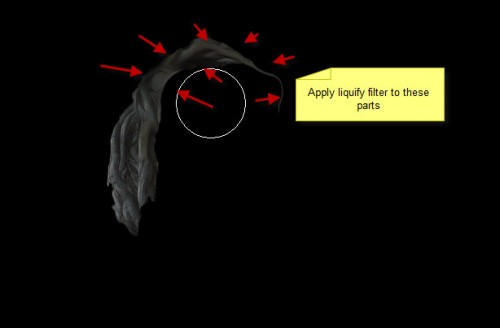
I decided to add one more tree texture on top of the first one, just to create a break-apart effect. So go back to the tree stock image, select another piece and paste onto our document:
You will notice I apply some liquify filter effect to this layer, to create a flowing effect around the edge:
Add a Black and White adjustment layer as clipping mask to this layer:

and here is the effect so far:

We can add some particle effect to the image – Go back to the tree image and select some small pieces with quick selection tool:

Copy and paste them over to our document, resize them to a very small scale, place them under the second tree layer:

Step 5
Load the model image into Photoshop and cut it out: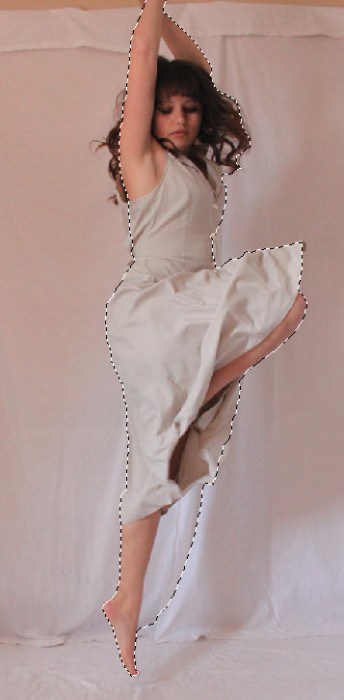
Paste and resize the model, position it under the tip of the structure as shown below:
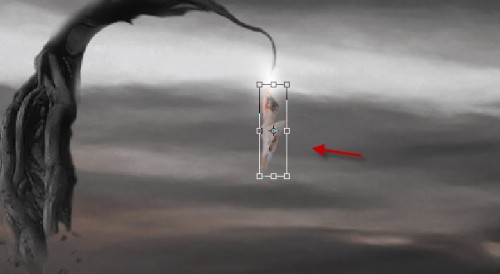
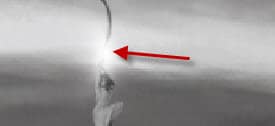
Add some light above the model image just to create some surreal effect:
Step 6
Load the cliff image into Photoshop, select the small rock in the sea and cut it out: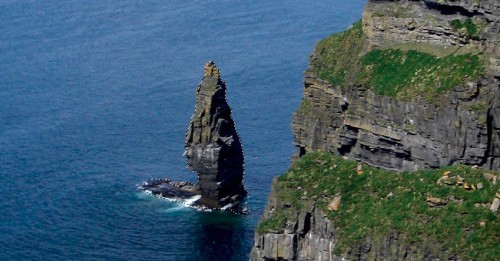
Paste it onto our document, reduce its size a bit with free transform tool:

Use a soft eraser to erase the bottom edge, so it blends into ground texture:

Duplicate this rock layer once and flip it horizontally, reduce the size of the duplicated rock a bit and move it to the right:

Step 7
We’re almost done! Flatten the image (don’t forget to save first) and duplicate the background layer, apply some unsharp mask filter to it:
Mask out the following area on the sharpened layer:
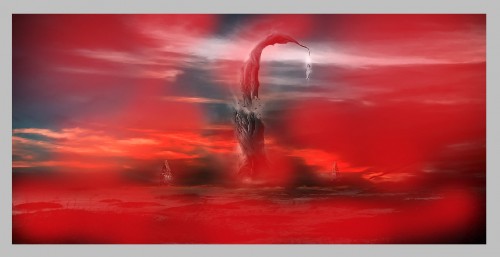
Add some cloud around the structure to add some dramatic effect with either cloud brush or filter:
Hint: use free transform and eraser tool to adjust the cloud shape and size.

and here is the effect so far:
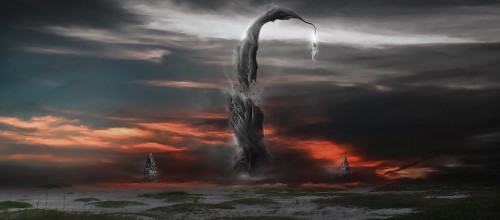
I then further added some colour effect onto the image, and here is the final effect I have: (click to enlarge)

That’s it for this tutorial! Hope you enjoy it and find it useful! Till next time, have a great day!


Tidak ada komentar:
Posting Komentar